CIRCLE TIME
There are 4 seasons in the year, and many different types of weather that comes with those seasons. Most weather always comes during certain seasons, and some weather can come at any time.
Seasons:
Spring - Spring comes at the end of winter. It is usually from March to May. The sun warms up, rain falls and all the plants and flowers begin to grow. Everything that turned brown during winter begins to turn green again. Birds will be chirping and flying around, enjoying all the fresh berries that are growing. The weather in Spring is usually warm, sometimes rainy, and sometimes foggy. People will wear less long pants and long sleeve shirts begin to wear more shorts and dresses. The holidays that fall during Spring are St. Patrick's Day, Easter, and Memorial Day.
Summer - Summer is the warmest part of the year, which comes after Spring. Summer is from June to August. During Summer, all the plants and animals are having a great time because it is so warm and sunny. The weather is hot, sunny and sometimes rainy. Plants are beautiful and green, flowers are bright and colorful. Birds are happy and raising their babies. People wear shorts, tank tops, sandals, bathing suits and sunglasses! The Summer holidays are Father's Day, Flag Day and Independance Day.
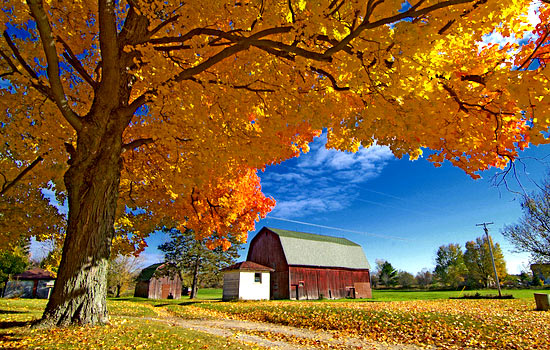
Fall - Fall is the season that comes after Summer. The weather begins to cool down and it will often times be windy. Fall is from September to November. In the fall, the leaves on the trees will begin to change colors and fall to the ground. The birds are busy looking for food to store up so they can eat during winter, when food doesn't really grow. People will put away their shorts and sandals and wear their long pants again. The Fall holidays are Labor Day, Halloween and Thanksgiving.
Winter - Winter comes after Fall. The weather during the Winter is generally cold, windy, rainy, and even snowy in the northern states. Winter is from December to February. The plants and trees do now grow during the Winter and they will be brown. Birds will be hanging out in their homes, trying to keep warm and eating all the food they stored up during the Fall. People are wearing sweaters, long pants, coats, and hats. The winter holidays are Christmas, New Year's Eve, and Valentine's Day.

BIBLE
"Changing Seasons and Our Unchanging God"
(From ministrytochildren.com)
Ecclesiastes 3:1-11
http://ministry-to-children.com/seasonal-coloring-pages/ Print the coloring pages and discuss. Color them!
Introduction: As the students arrive, say: Welcome! Welcome to_____________ (your region’s current season).
As a weather reporter may announce, say: Today’s current conditions call for a temperature of _____ degrees, with partly ______ skies, and a wind coming from the east at ____ mph. With weather conditions like these, we better plan accordingly and __________________. (List a number of appropriate seasonal activities such as taking a hayride, raking leaves, shoveling snow, building a snowman, planting some flowers, splashing in puddles, going swimming, or building a sandcastle at the beach.)
Express your like or dislike for the weather in this particular season and explain why. Ask the students: What is your all-time favorite season and why? What is your least favorite season and why? Allow for multiple students to answer.
Sometimes I wonder why God ever created _________ (your least favorite season.) Wouldn’t we all be better off without all this __________? (snow, freezing rain, heat, humidity, rain, etc.) Please tell me that some of you agree with me!
But God said that He created every season for a purpose. So, yes! Even ______ (your least favorite season) has its purpose. Not only do seasons have their purpose, but times of our lives have a purpose too. That means that there will be times when we will laugh, dance, keep, love others, be loved, and have peace. There will also be times when we will cry, mourn and grieve, give up, fix something that is broken, and have to deal with war.
What I want you to know today is that seasons will change. Bad times and good times will come and go. You will change. Your friends and family members will change. Your home, school, or church may even change. And your hair, that will probably change too! (You should see what I looked like in 5th grade!)
But you have to know that God will never change. If you have a relationship with Him, He will never leave you. He will always be there to help you through. God says that He has made everything beautiful in its time. That means that He can take even the worst seasons of life and turn them into something more beautiful than we could ever have imagined. Our God is incredible!

BOOKS
http://www.amazon.com/Sunshine-Seasons-reillustrated-Lets-Read---Find-Out/dp/0060592052/ref=sr_1_1?s=books&ie=UTF8&qid=1383067596&sr=1-1&keywords=sunshine+makes+the+seasons#_

The sun shines down on us, giving warmth and light. But did you know that the sun also makes the seasons? As the earth makes one complete rotation around the sun every year, the seasons on the earth change -- from winter to spring to summer to fall and back to winter again. Find out how the light from the sun affects life on the earth for all living things in this look at the only star in our solar system.
http://www.amazon.com/Say-Can-Whats-Weather-Today/dp/0375822763/ref=sr_1_1?s=books&ie=UTF8&qid=1383067722&sr=1-1&keywords=oh+say+can+you+say+what%27s+the+weather+today

The Cat and company travel by hot air balloon up and into various weather phenomena including rain, snow, thunder, tornadoes, and (yikes!) even hurricanes! Along the way they learn about thermometers, anemometers, wind vanes, cloud formations, humidity, fog, smog, weather folklore, and how to stay safe in lightning. Written and illustrated in Seussian style, this a great addition to the Cat in the Hat’s Learning Library!
SCIENCE
Rain Cloud In A Cup

This is an oldie but goodie! The kids really enjoy this one and it helps to demonstrate what is going on inside a rain cloud.
Materials Needed:
Clear cup, glass, or jar
White shaving cream
Blue food coloring
Water
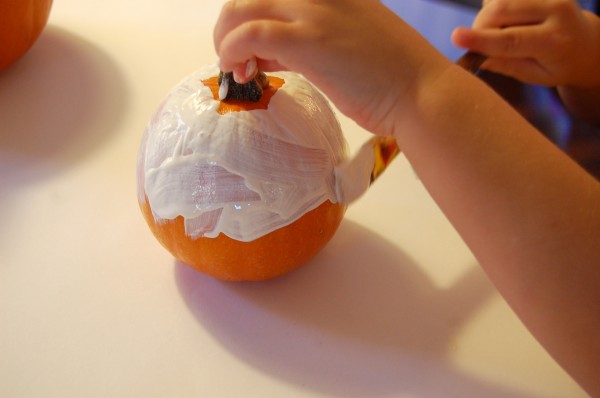
Where does rain come from? Water that is in the rivers and lakes gets heated by the sun which causes it to turn into vapor. Water vapor is just tiny little droplets of water which are very light and "float" up into the sky. As they reach the sky, the vapor drops get mushed together into clouds. When the cloud full of water vapor gets full, it gets heavy. That is when the water will fall back to the ground as rain! (this is a very simplified explanation, of course)
To demonstrate this happening, fill the glass with water so that there is about an inch left at the top. Spray a thick "cloud" of shaving cream on top. Explain that the cream is the cloud and the water is the air below the cloud. Squirt several drops (it may take 20 or 30) of the blue food coloring into the cloud. Once the cloud is full and heavy, the rain will fall!
The Power of Wind
Wind can be very powerful! When the air outside is moving, that is wind. Wind can be soft and gentle or it can be fast and violent! To demonstrate wind, place a large pile of torn up crepe paper on a table. Give each child a drinking straw and let them blow the paper. This way they can see the effects of wind.
If you want to find out how fast the wind is blowing, you can use an anemometer. That is an instrument which catches the wind and will tell you it's speed.
If you want to find out which direction the wind is blowing, you can make a wind sock. The wind sock is just like it sounds, a large "sock" which catches the wind and points in the direction it is blowing.
To make a simple Anemometer:
Poke a long pencil into a small styrofoam cup, with the cup's open end down on the table. Collect 2 drinking straws, a straight pin, and 4 small paper cups. Poke holes in the sides of the cups so that you can stick the straws through them. Stick 1 cup to each end of each straw, there will be 2 cups per straw and the opening of the cups should be facing in opposite directions. Place 1 straw with cups attached to the pencil's eraser, with the straw centered on the eraser. Place the other straw on top, in it's middle, perpendicular to the first straw. Stick the straight pin through both straws and into the eraser. Be sure the straws can spin around on the pin. **See below for an idea of what it should look like.
Place the anemometer on a table and blow into one of the cups to see the wind move it. Place it outside on a windy day in order to see the wind power!
To make a simple Wind Sock:
You need a piece of construction paper, ribbon, streamers, and glue. You can decorate it, too! Wrap the paper aroundto form a large tube. Tape or glue the seam. Run some streamers out the bottom about a foot or 2 long and tape to the inside edge at the bottom of the tube. Tape a length of ribbon to the inside edge of the top of the tube to form the "handle". **See below image.
On a windy day you can hold this by the handle to see the direction the wind is blowing!

MOTOR SKILLS
Gross - Tub O' Tornado
You will need a large tub or bucket full of water and a stick or paddle. You might want to do this outside! The basic idea is to have the kids make a tornado (or whirlpool) in the water. Have them hold the stick down into the tub and swirl it around and around until it creates the tornado. This takes a lot of work and it is really cool to see how a tornado works! The difference is that a tornado is formed by air instead of water.

Fine - 4 Seasons Cutting Practice
Print the worksheet HERE. The children should practice cutting the lines that connect the object with the season. This is great for fine motor skills!

MATH
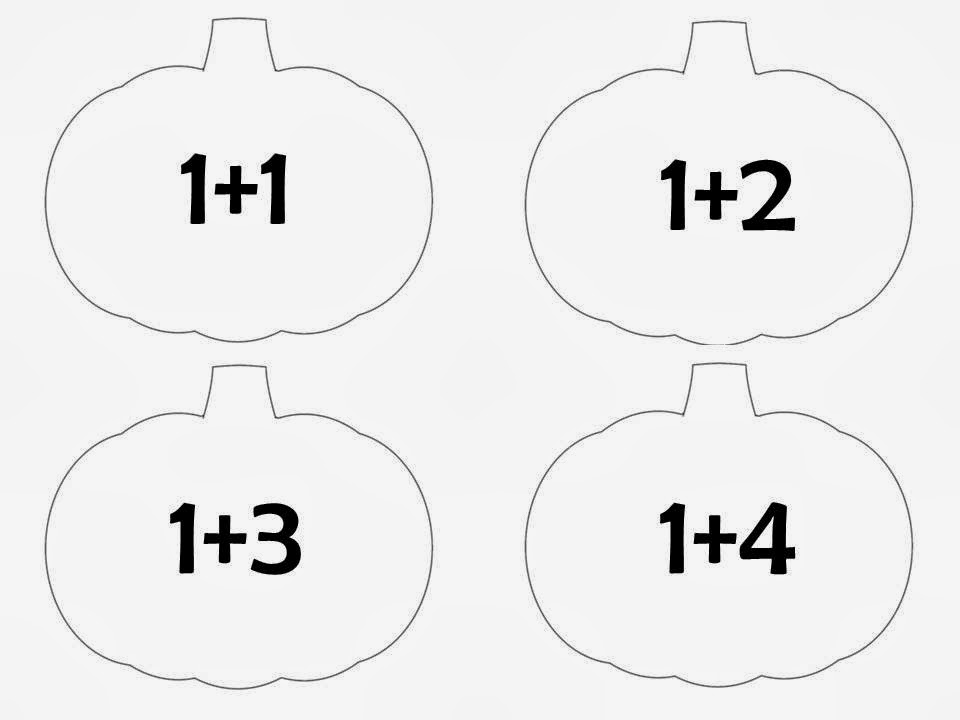
Raindrop Math
Print the worksheet HERE. You can buy glass beads that are blue from a hobby store for cheap! The kids need to say the number listed and then count out the number of beads and place them in the space next to the number.

Seasons Sequencing Chart
Print out the form from kidsparkz.com. Print 1 form for each child. Cut the 4 season cards apart. Provide a piece of construction paper and some glue. The idea is to put the seasons in order and glue them to the paper. It really doesn't matter which one they start with, as long as they have the right order!
(Sequencing is great for helping young children understand order. Most things, especially in math, have a very specific order to them.)

MUSIC
4 Seasons of the Apple Tree
Four Seasons of the Apple Tree by Candace Lindemann
(tune: The Farmer in the Dell)
The apple tree in spring,
has tiny buds of pink.
Those buds will start flower
before you even blink
The apple tree in summer,
is full and green and tall.
It grows tiny little apples
the size of a rubber ball
The apple tree in fall,
its leaves are turning gold.
The apples are delicious
to be picked or baked or sold.
The apple tree in winter,
the temperature is low
The roots rest for the spring
in a bed of snow.
(found on naturallyeducational.com)
LETTER/ READING
Letter O and Short O Sound!
http://www.starfall.com/n/level-a/learn-to-read/load.htm?f
This week on Starfall.com you should work on the ot and og lesson.
http://www.readingbear.org/Presentation.aspx?PresentationID=5
On readingbear.org you should do the above Short O lessons.
Print the short O worksheet on Education.com HERE.
ART/CRAFT
Art - Sparkly Rainbows
You will need:
Thick paper
Paintbrushes
Liquid water colors
Table salt
White school glue
Allow the kids to make a pattern on their paper with the glue. Sprinkle the table salt on the glue before it dries. Tip paper over a container to remove excess salt. Use the paintbrushes to add color to the salt. The result is very pretty! Allow to dry and hang up in the classroom.

Craft - Rainy Clouds
You will need:
White paper
Blue paper
Glue
Yarn (blue is best)
Cotton Balls
Set Up: Make a cloud template and cut out a cloud from the white paper for each child. You will also need to cut a few raindrops out of the blue paper. Cut several lengths of yarn for each child.
The children should glue cotton balls to the cloud template to make their clouds fluffy! They will then glue the yarn to the back of the clouds hanging down below the clouds. Glue the raindrops to the bottoms of the yarn so that the raindrops appear to be falling from the cloud. You could add a smile and googley eyes if you wish!

COOKING
Snow Cones
Ingredients:
Shaved Ice
Snow cone syrup (you can make your own using Kool-Aid! http://allrecipes.com/Recipe/Snow-Cone-Syrup-II/)
If you place the ice in a big bowl you can let the kids scoop their own into cups. Put the flavors in a squeeze bottle and allow them to squirt their own juice as well. Now they get to eat "snow"! SO fun...